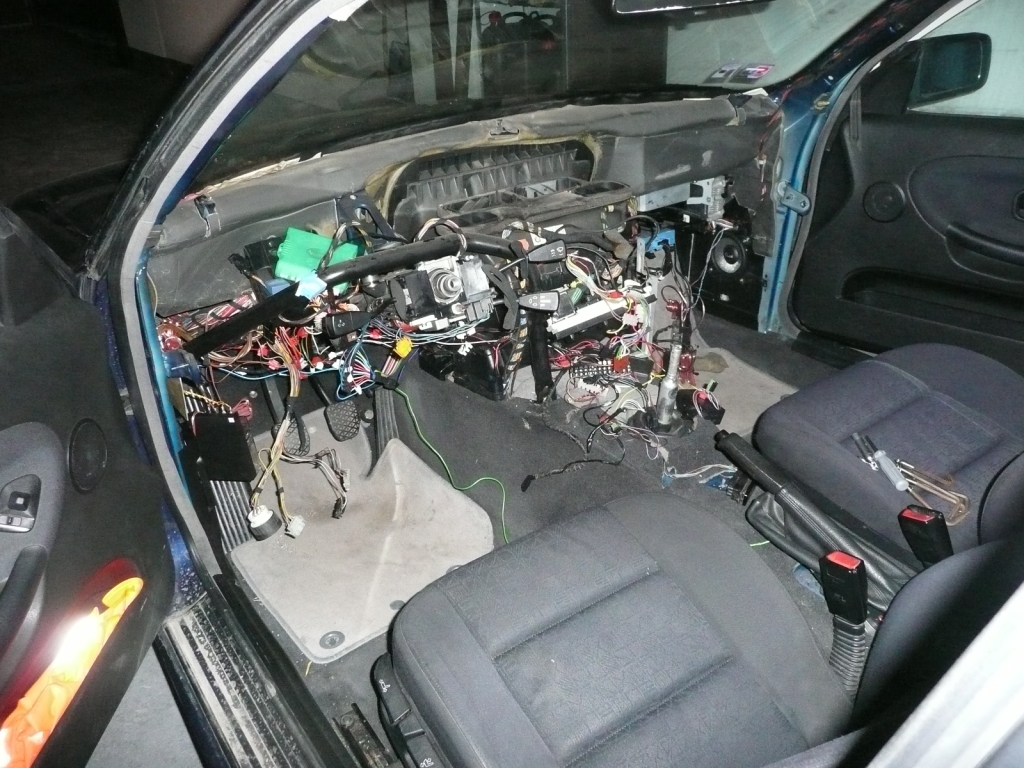
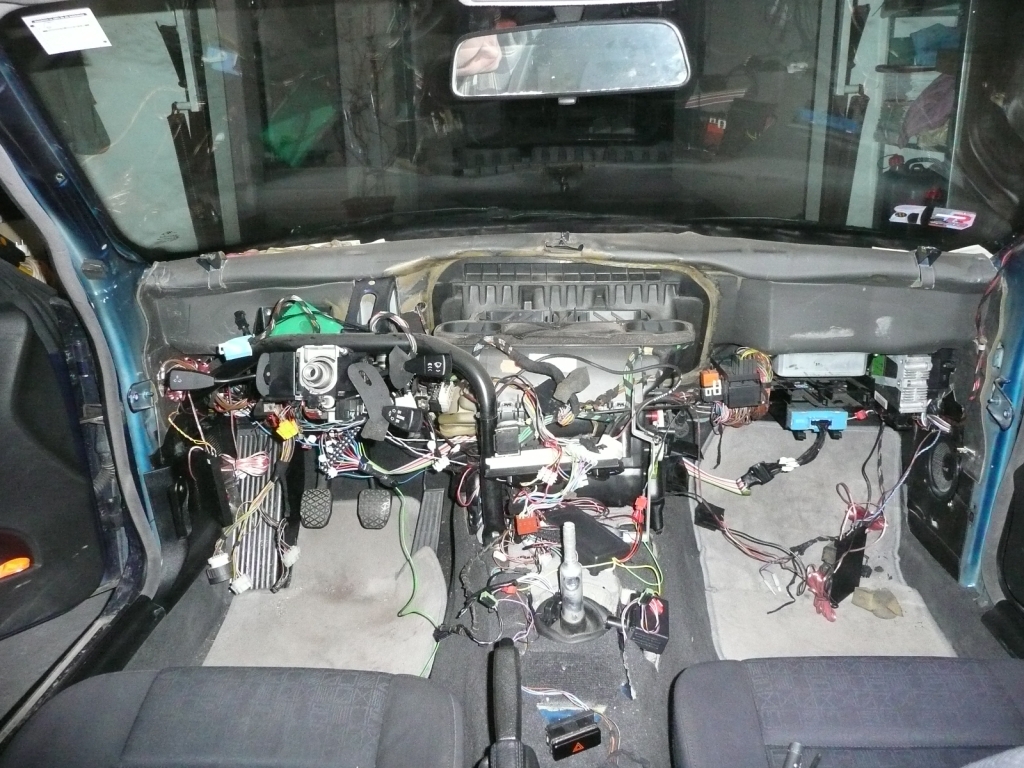
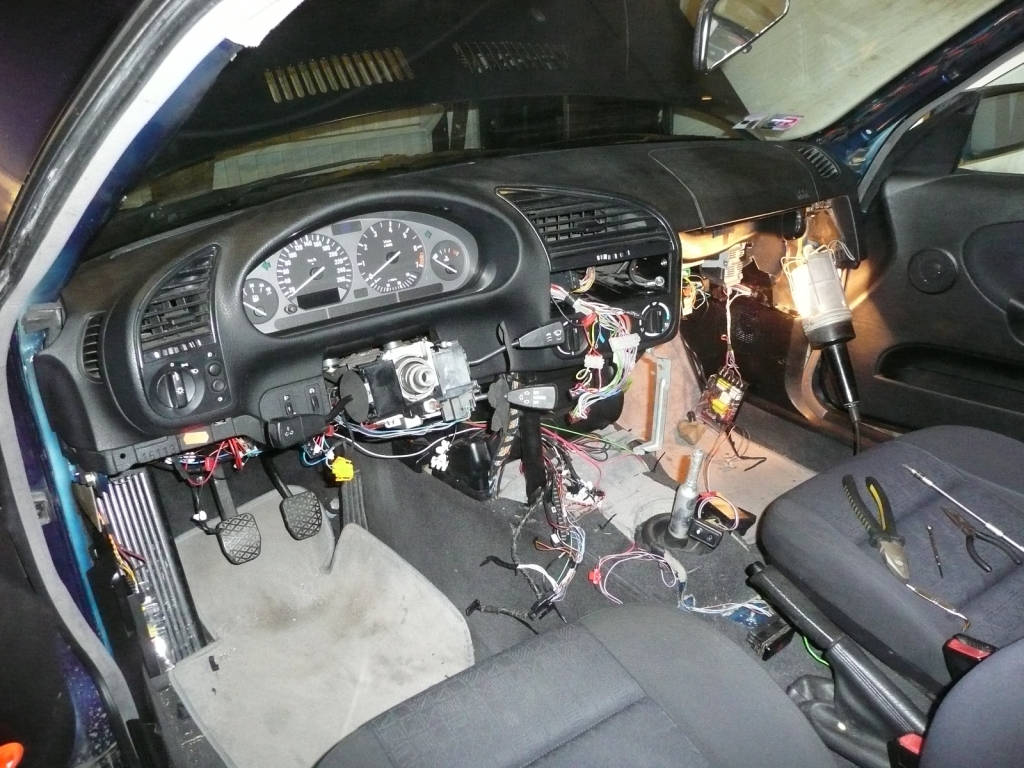
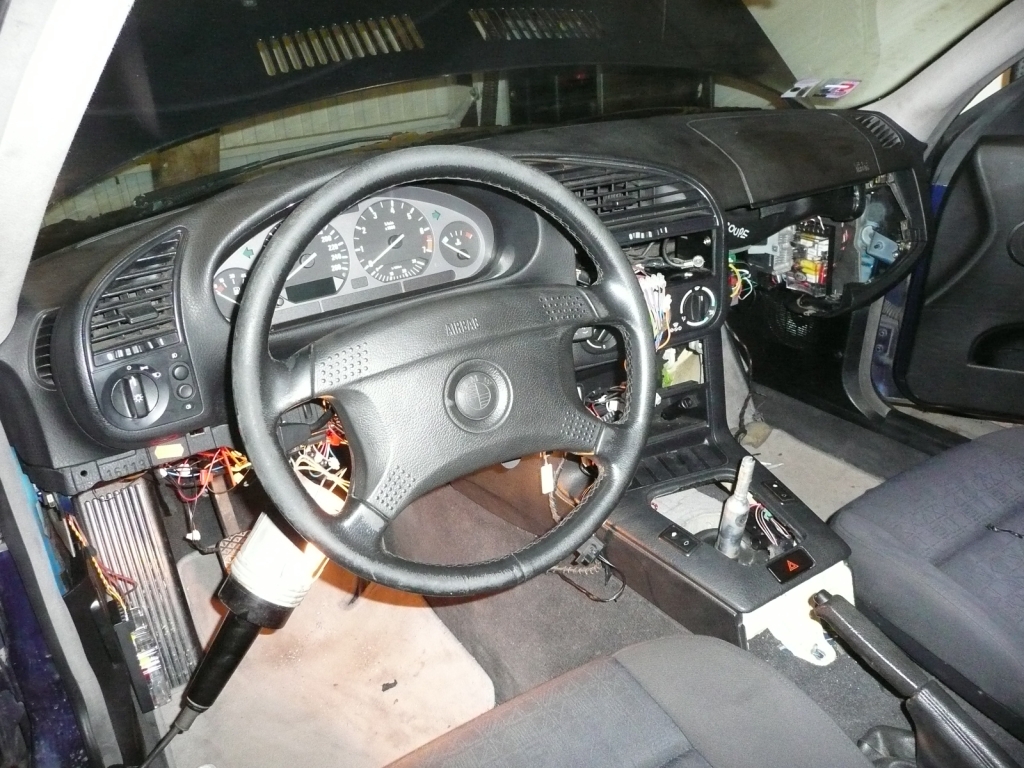
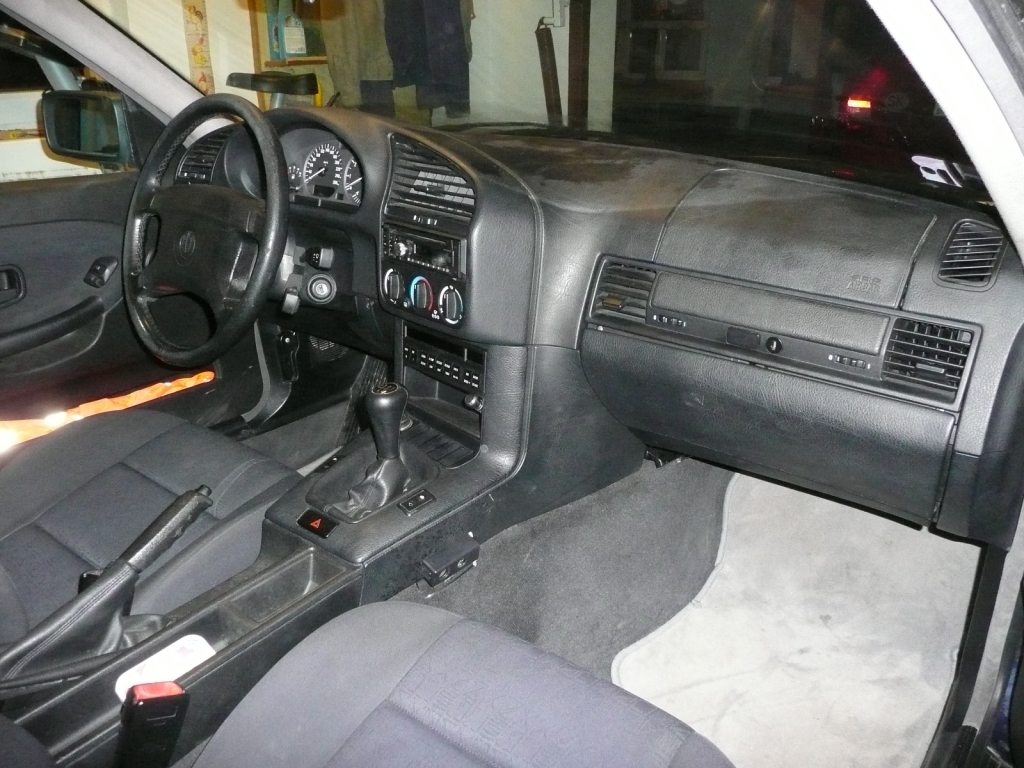
The leather on my old steering wheel looked really worn, so I started looking for a new wheel. New leather would be an option if the steering wheel looked better, but an old 4-spoke without the BMW badge is not something very aesthetic...
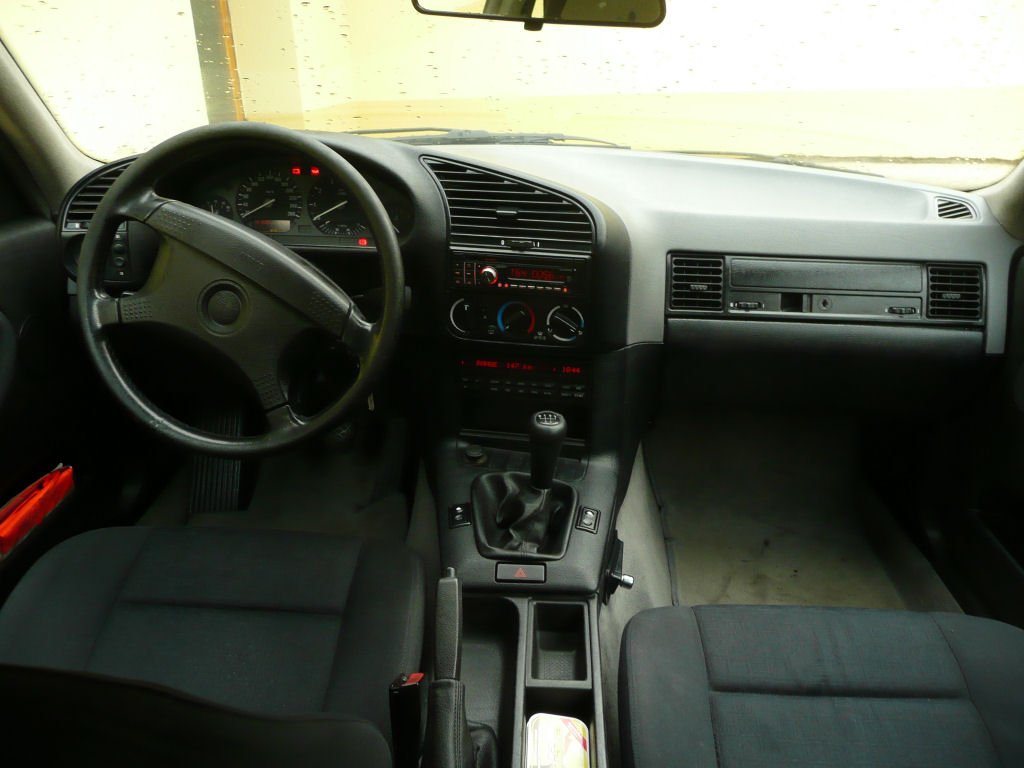
On the other hand, for some reason I don't really like 3-spoke wheels, which left me with a single option - a 4-spoke wheel from a newer E36.

I started searching on e-bay and several other auction sites and I found out, that e39 and e38 had a very similar steering wheel, except it had buttons. I began a long search for a DIY on retrofitting a multifunction steering wheel to an E36.
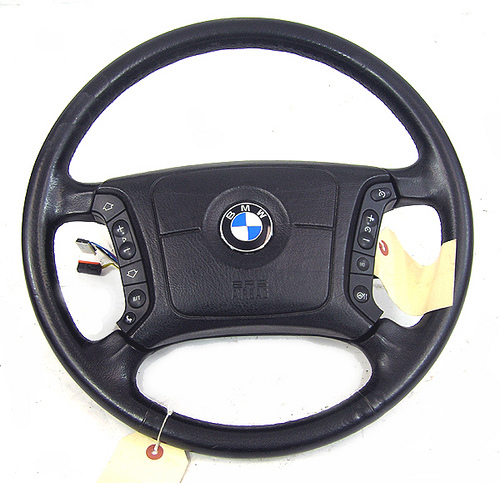
As it turns out, not many people attempted to do this. I found a Slovenian guy Vlakci at bimmerforums.com, who retrofitted the wheel to his E36, but he used a very different approach than what I was hoping for - he used an OEM head unit and cruise control from the E39 - these can communicate with the steering wheel almost without modification. This solution did not seem ideal, as my head unit is better than factory and a I spent about two months finding and retrofitting the cruise control - I decided to do it my own way.
The steering wheel was produced in 1995, which means that the buttons are not connected directly to the I-bus (which my E36 doesn't have at all), but the signal is first sent to an intermediate "MFL unit", where it is transcoded for the I-bus and for the cruise control unit. I was hoping that the communication between the buttons and the MFL unit was analogue, based on different buttons having different resistances, but I was wrong.
I had to disassemble the buttons and look inside. I found an electronic circuit with several basic components and a microcontroller labeled U-6050B. I spent some time googling and found out that it is a multiplexer made by Temic and that its purpose is to encode a status of up to 8 buttons and send it over a single line. I studied the spec.
http://www.datasheetcatalog.org/datasheet/Temic/mXyzurtr.pdfAccording to the specification, there has to be a U-6052B demultiplexer on the other side of the line that reads the status of the buttons and controls relays - one for each button. This was a very positive information, because in E36, all communication between components (except for the diagnostic connector) is realized this way - nothing is digital, only different voltages on every line. Additionally, according to the spec, it is possible to connect two multiplexers in series and read up to 16 buttons - this is exactly how the steering wheel handles two rows of buttons.
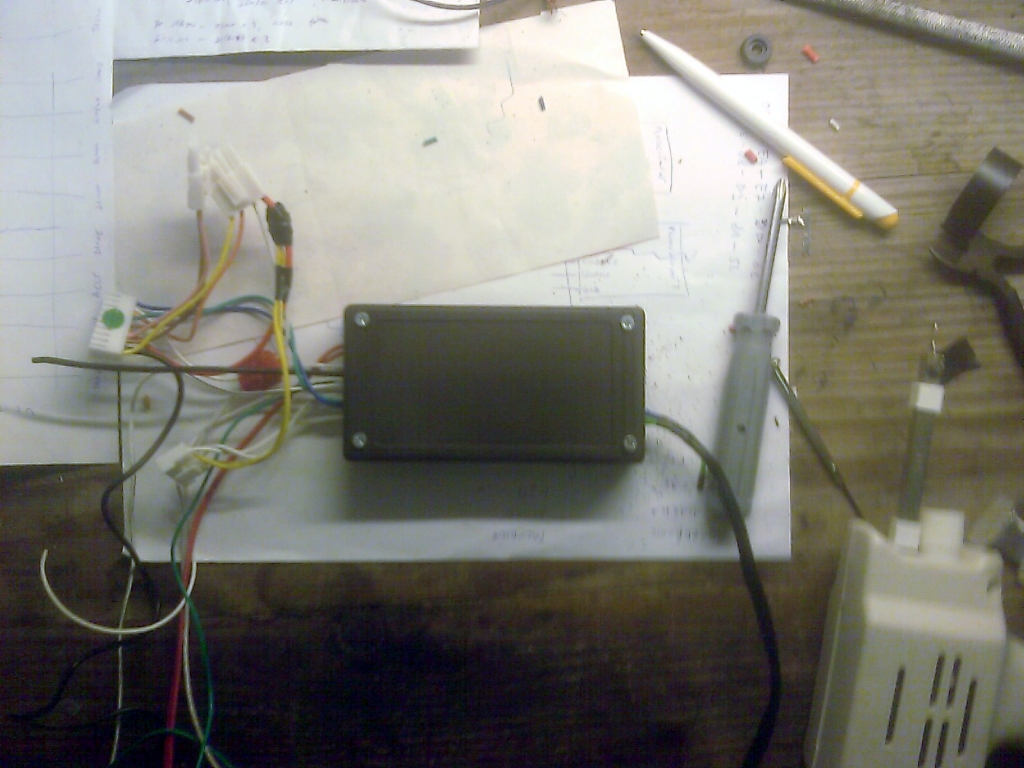
Getting the demultiplexer U-6052B is not very easy these days - it's been discontinued some 15 years ago. I decided that I didn't really need the MFL unit which contains a pair of those demultiplexers. I downloaded Eagle, made a schema according to the specification and had a local guy print the circuit board for me.
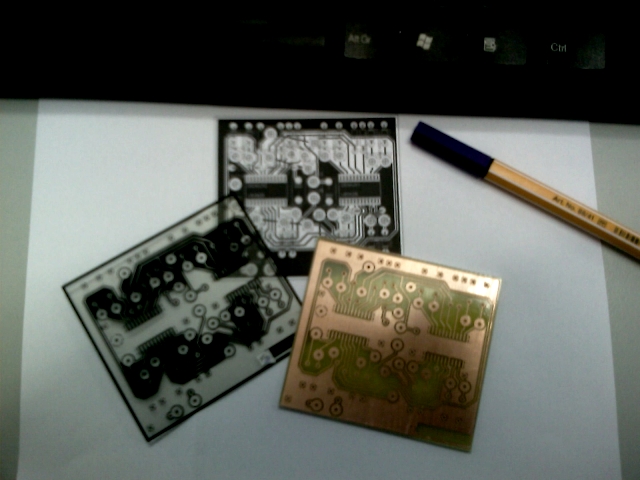
One of my friends then helped me desolder the tiny demultiplexers from the MFL unit and solder them to my custom circuit board.
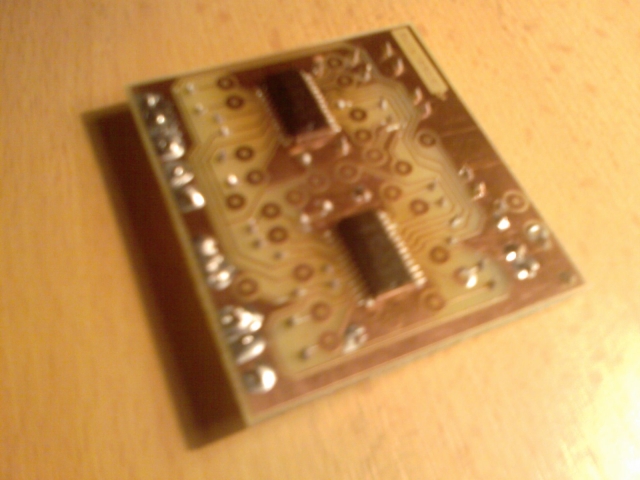
Then I soldered some additional resistors and capacitors and after three days of bug fixing, the circuit started working - whenever I press a button on the steering wheel, one of the outputs of the circuit board is connected to ground.
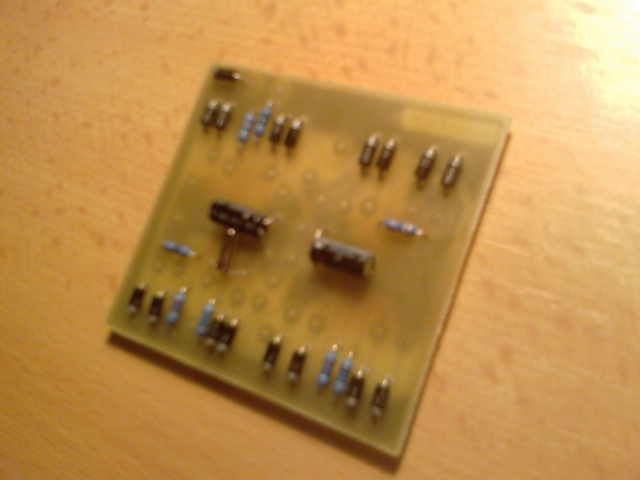
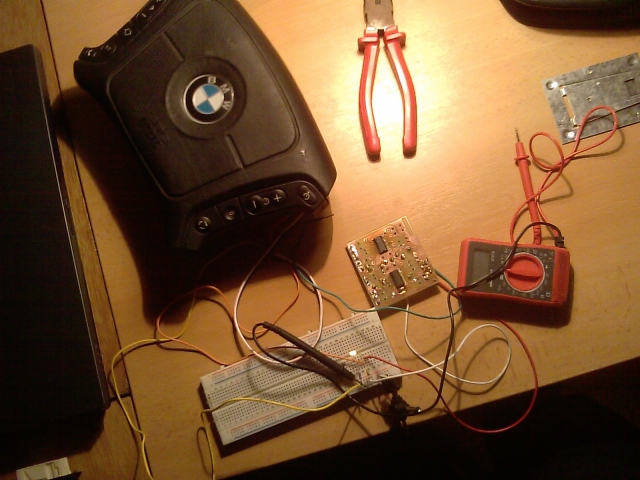
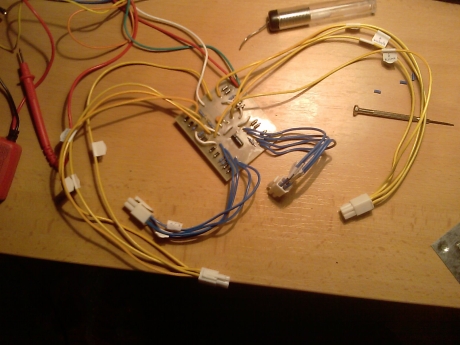
Next I had to deal with controlling the E36 cruise control. At first I thought it would be trivial, because the cruise control switch works by connecting different pins of the cruise control unit to ground, but as it turned out, it is the other way around - the CC switch needs to connect CC unit pins to +12V. How do you "convert" GND to +12V? The easiest solution would be to use relays, but I wanted something without moving parts. I read about transistors on Wikipedia and I found a way to use them instead of the relays.
http://www.rason.org/Projects/transwit/transwit.htmAnother complication was that one of the pins of the CC unit works differently - it needs to be under voltage at all times and interrupting this connection causes the CC unit to disengage. I experimented a little bit with two transistors in series, but then I decided to use the relay for this purpose, because I never use the CC switch to turn the cruise control off, so the relay will almost never be used and I don't care if it has moving parts or not. Plus my experiments with the transistors didn't work :D
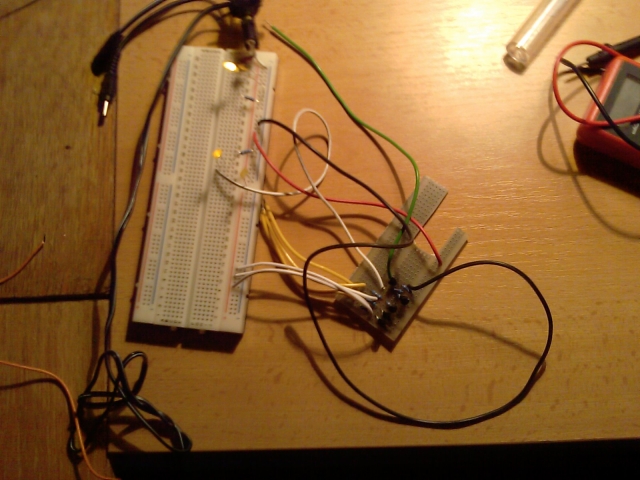
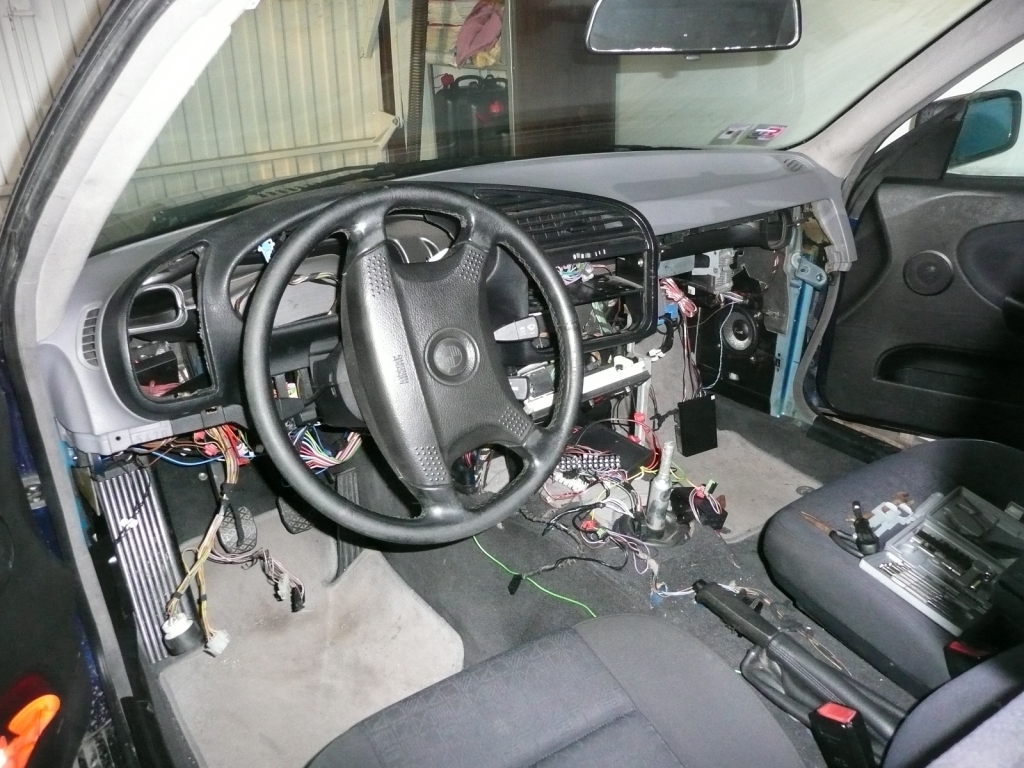
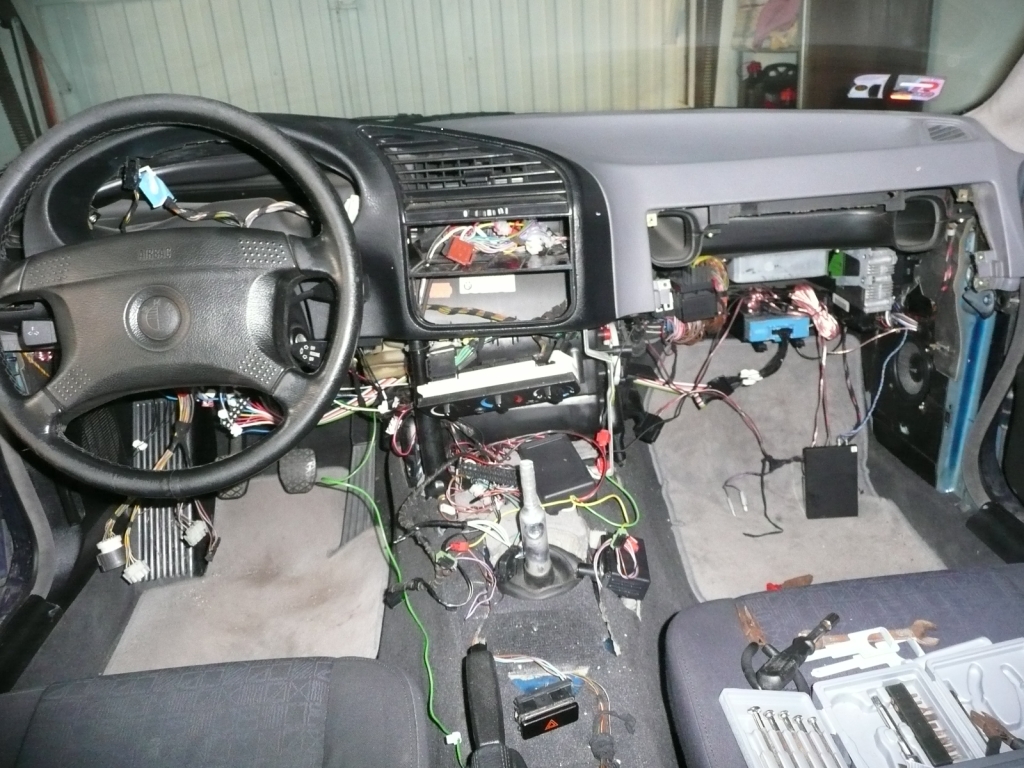
Apart from the buttons, I had to deal with airbag and horn connectors and buy a new steering wheel switch holder, which is fortunately very cheap.
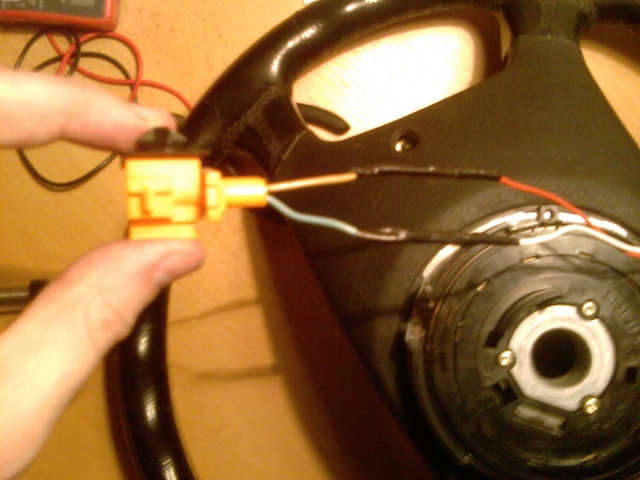
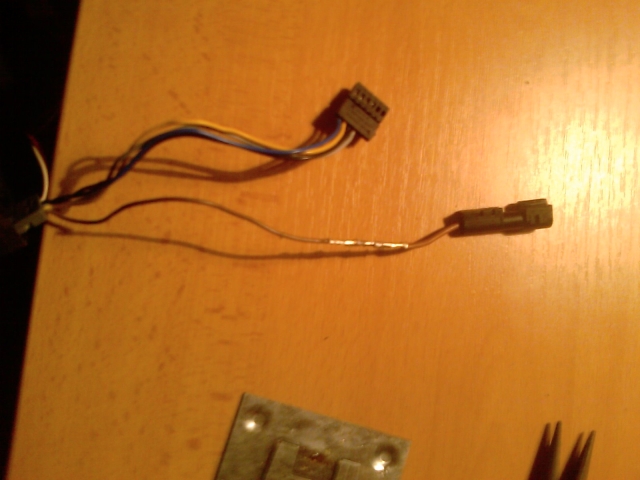
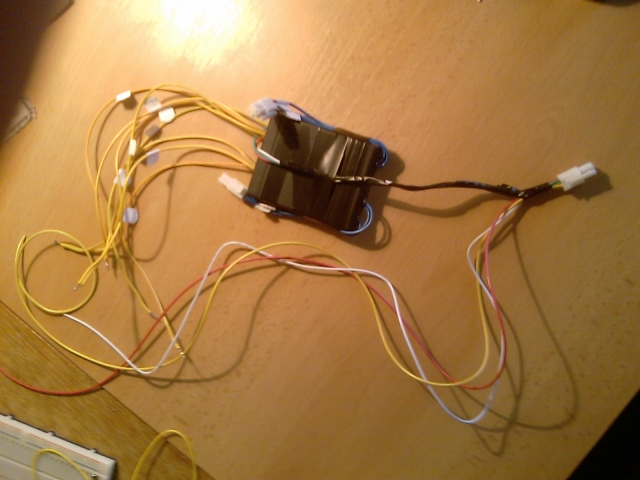
Currently, the wheel is in the car, it looks great, it feels good (although it is a little bigger than the previous one), the turn signals work, the horn works, the button lighting works (along with the interior lighting intensity regulator) and the right-side buttons work. I also use the bottom-right button for switching OBC functions, because I don't have the OBC-enabled turn signal switch.
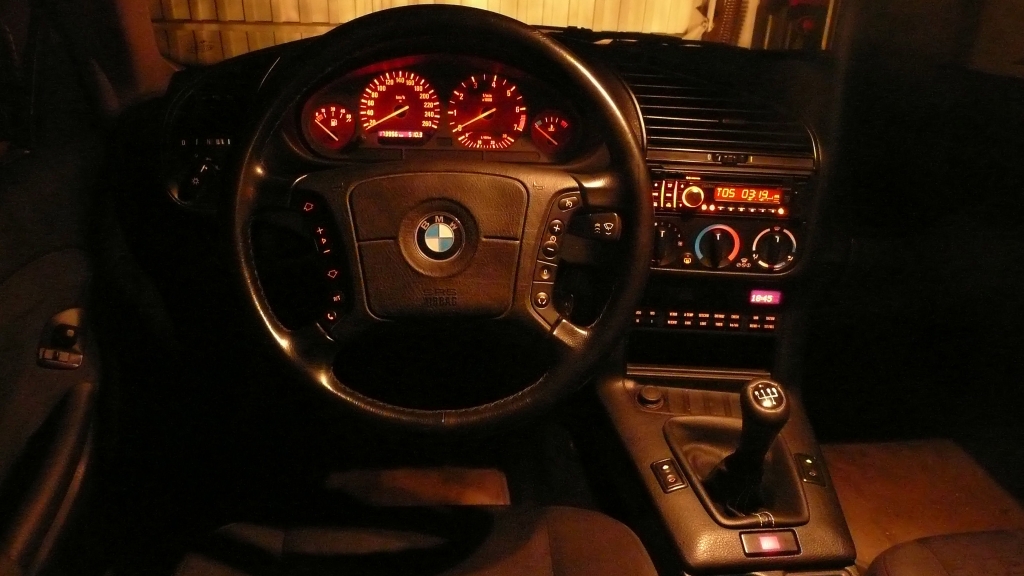
The next step will be to use the left side buttons for controlling the head unit. My Clarion has a jack for "OEM steering wheel controls", but I cannot find any specification for this input. A company called PAC makes universal adapters and Clarion makes one itself, but they are both expensive. My best bet now is that the head unit is controlled by a resistance ladder between the two contacts on the jack - I will have to try and see. If you have any experience with this input, please let me know.
Labels: bmw, e36, MFL, multifunction, retrofit, steering wheel